_Busy days can leave you craving something crisp, tangy, and satisfying, but who has hours to spend in the kitchen? Maybe you’re tired after work, hungry after school, or just want a tasty snack for movie night. The good news: you don’t need special skills or fancy tools to make your own dill pickles at home. In fact, you can enjoy bold, fresh flavors in minutes with just a few simple steps. This guide reveals three easy dill pickle recipes anyone can make, with step-by-step help, time-saving tricks, and all the crunchy goodness you crave._
Why Make Your Own Dill Pickles?
Making your own pickles at home is fast, fun, and rewarding. Here’s why these recipes are worth your time:
- Quick prep—each recipe takes minutes, not hours
- Simple steps—no canning or special equipment needed
- Budget-friendly—uses common, low-cost ingredients
- Customizable—adjust flavors to your own taste
- Small batches—no waste, always fresh
But there’s more to it than just convenience. When you make pickles yourself, you control everything that goes in the jar. Store-bought pickles often contain preservatives or extra sugar. Homemade versions let you choose how salty, garlicky, or spicy they are.
You can even experiment with herbs, vinegars, and aromatics to create your own signature style. If you have kids, this is a fun kitchen project that gets them interested in real food and flavors.
Another big advantage is freshness. Supermarket pickles can sit on shelves for months and lose their crunch. Home-pickled cucumbers stay snappy and vibrant, especially if you use them within a couple of weeks. You also avoid waste because you can make just what you need, in any size jar you have.
Even if your fridge is small, these recipes fit right in.
Finally, making pickles is a great way to use up extra vegetables. If your garden overflows with cucumbers, or you spot a sale at the market, you can turn them into pickles before they spoil. Homemade pickles also make thoughtful gifts—just tie a ribbon around a jar for an easy, homemade present.
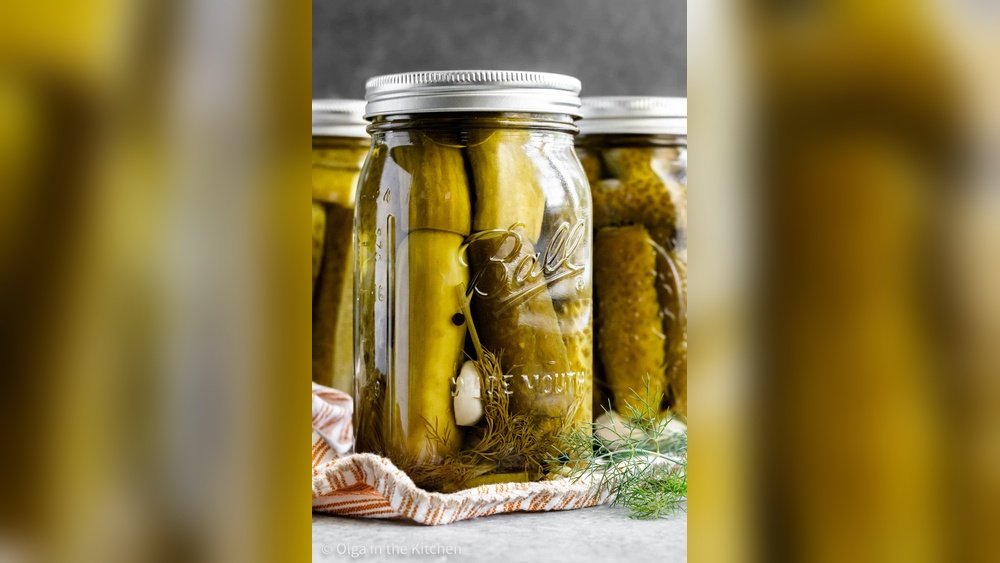
Classic Refrigerator Dill Pickles: Easy, Crisp & Tangy
If you love the snap and flavor of classic deli pickles, this version is for you. With just a handful of ingredients, you’ll get that traditional taste—no boiling jars or waiting weeks.
Total Time: 10 minutes prep, plus 24 hours chilling
Servings: 12 spears
Ingredients:
- 2 medium cucumbers (Kirby or Persian work best)
- 1 cup water
- 1 cup white vinegar
- 1 tablespoon kosher salt
- 1 tablespoon sugar
- 3 cloves garlic, sliced
- 1 teaspoon whole black peppercorns
- 1 teaspoon mustard seeds (optional)
- 4–5 sprigs fresh dill
Steps:
- Wash cucumbers and slice into spears or rounds. For best crunch, trim the blossom end (the end opposite the stem), which can contain enzymes that soften pickles.
- In a bowl, mix water, vinegar, salt, and sugar. Stir until dissolved. If the salt doesn’t dissolve quickly, use warm water and let the brine cool before pouring.
- Place garlic, peppercorns, mustard seeds, and dill in a clean jar. Layering these at the bottom helps the flavors rise up through the cucumbers.
- Add cucumber pieces to the jar, packing them tightly, but don’t smash them—leave a little space for the brine to flow.
- Pour the brine over the cucumbers, covering them completely. If you run short on liquid, add a bit more water and vinegar in equal parts.
- Seal the jar. Refrigerate at least 24 hours before eating. The longer they sit, the stronger the flavor.
Pro Tip: For extra crunch, add a few slices of raw onion or a pinch of red pepper flakes.
Why you’ll love it: These pickles are crisp, garlicky, and taste just like your favorite deli.
Extra Tips:
If you want a more pronounced garlic flavor, bruise the garlic slightly before adding it. You can also experiment with adding bay leaves or a small piece of horseradish root for a more complex taste. If you don’t have white vinegar, apple cider vinegar works but will give a sweeter, fruitier note.
Credit: itsnotcomplicatedrecipes.com
Quick Spicy Dill Pickle Chips: Zingy In 30 Minutes
Want a little heat in your snack? These spicy pickle chips come together fast and add a kick to burgers, sandwiches, or snack boards.
Total Time: 10 minutes prep, 30 minutes marinating
Servings: 20 chips
Ingredients:
- 2 small cucumbers
- 1 cup apple cider vinegar
- ½ cup water
- 1 tablespoon sea salt
- 2 teaspoons sugar
- 2 cloves garlic, smashed
- ½ teaspoon red chili flakes
- 1 teaspoon dill seeds or 2 sprigs fresh dill
Steps:
- Slice cucumbers into thin coins. The thinner they are, the faster they pickle—aim for 1/8 inch if possible.
- Mix vinegar, water, salt, and sugar in a bowl. Stir well until the sugar and salt are fully dissolved.
- Layer cucumber slices, garlic, chili flakes, and dill in a jar. Try to alternate layers so every slice gets some spice.
- Pour the brine over the cucumbers, making sure everything is submerged. If needed, press down gently with a spoon.
- Let sit at room temperature for 30 minutes, then refrigerate. The flavor will deepen if you leave them for a few hours.
Pro Tip: For even more flavor, add a few slices of jalapeño or a dash of smoked paprika.
Why you’ll love it: Zesty and spicy, these chips are ready the same day.
Extra Advice:
Don’t be afraid to experiment with the heat level. If you like things milder, use less chili flakes or try adding just a pinch of ground cayenne. For a smoky flavor, smoked salt or chipotle powder works well. Always taste the brine before pouring—it should taste a little too strong, as the cucumbers will mellow it out.
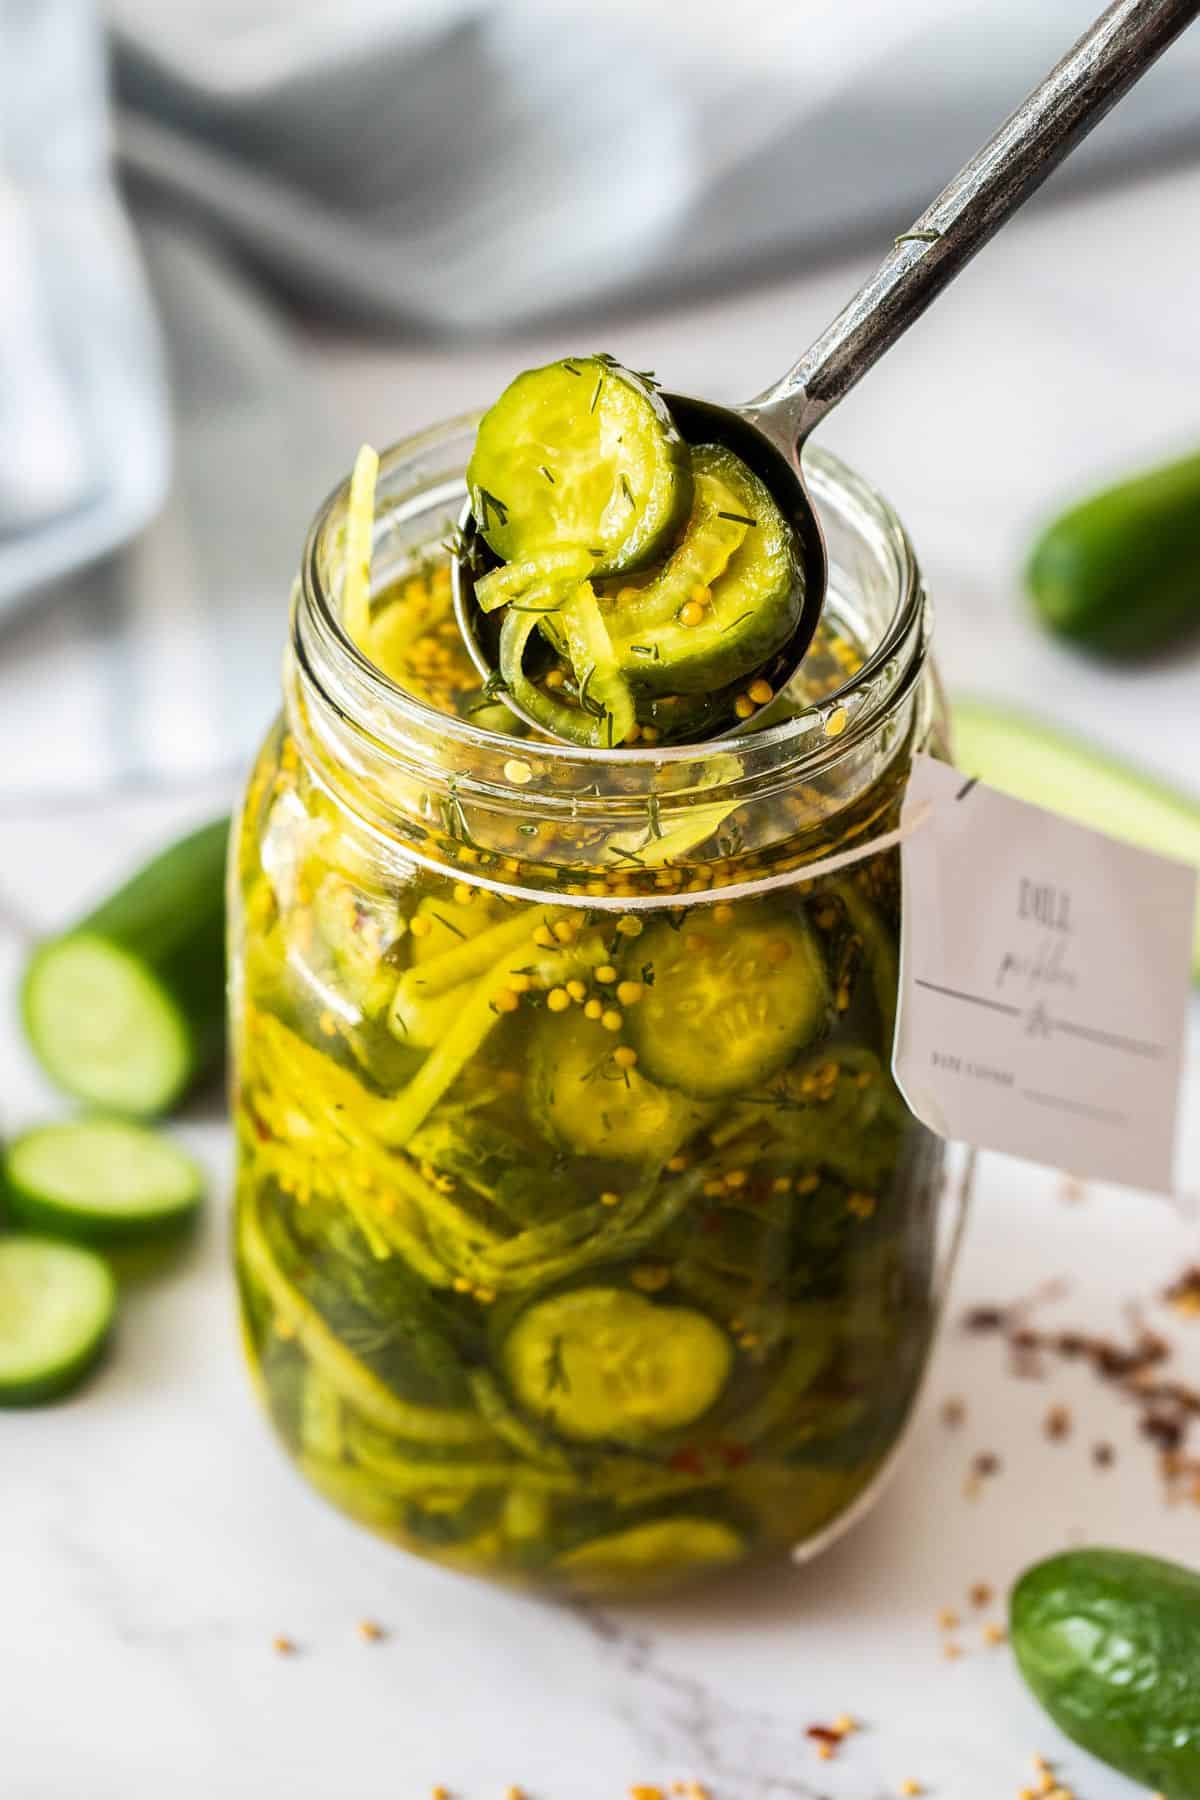
No-sugar Crunchy Dill Pickles: Healthy & Guilt-free
Looking for a lighter, sugar-free option? These pickles are crisp, tangy, and let the dill and garlic shine without added sweetness.
Total Time: 15 minutes prep, 12 hours chilling
Servings: 10–12 spears
Ingredients:
- 3 small Kirby cucumbers
- 1 cup filtered water
- 1 cup white or apple cider vinegar
- 1 tablespoon pickling salt (or kosher salt)
- 3 cloves garlic, halved
- 1 teaspoon black peppercorns
- ½ teaspoon crushed coriander seeds
- 5 sprigs fresh dill
Steps:
- Cut cucumbers into spears or slices. For extra crunch, soak them in ice water for 15 minutes before pickling.
- Mix water, vinegar, and salt in a bowl. Stir to dissolve. Taste the brine—it should be tart and salty, not bland.
- Layer garlic, peppercorns, coriander, and dill in a wide-mouth jar. Spread the aromatics evenly so every piece of cucumber gets flavor.
- Pack cucumber pieces into the jar. Don’t crush them—leave a little space at the top.
- Pour brine over cucumbers until covered. If they float, tuck a dill stem on top to hold them down.
- Close jar and chill for at least 12 hours before eating. They’re best after 24 hours.
Pro Tip: For maximum crunch, use the freshest cucumbers and avoid over-packing the jar.
Why you’ll love it: A crisp, refreshing snack with zero sugar—great for low-carb diets.
Extra Insight:
Some people add grape leaves or oak leaves to the jar. These leaves contain tannins that help keep pickles crunchy. If you have access to clean, unsprayed leaves, try adding one per jar. Also, if you want a probiotic boost, you can let these pickles ferment at room temperature for a day before chilling, but make sure the jar is not tightly sealed to let gases escape.
Cool & Crunchy Dill Pickle Slaw: Salad With A Twist
This recipe transforms pickles into a cool, tangy slaw—perfect for BBQs, sandwiches, or a light lunch. It’s a fun way to use pickles in a fresh, healthy salad.
Total Time: 20 minutes
Servings: 4
Ingredients:
- 1 cup dill pickles, thinly sliced
- 2 cups shredded cabbage (green or red)
- ½ cup carrot, grated
- 2 tablespoons fresh dill, chopped
- 1 tablespoon pickle juice
- 2 tablespoons mayonnaise or Greek yogurt
- 1 teaspoon mustard
- Salt and black pepper, to taste
Steps:
- In a large bowl, combine pickles, cabbage, carrot, and dill. Toss gently so everything is evenly mixed.
- In a separate bowl, whisk pickle juice, mayo (or yogurt), mustard, salt, and pepper. Adjust the amount of mayo to your liking for a creamier or lighter slaw.
- Pour dressing over vegetables and mix well. Use tongs or clean hands to combine, making sure the cabbage is coated but not soggy.
- Chill for 10 minutes before serving. This helps the flavors blend.
Pro Tip: Add thinly sliced red onion or a squeeze of lemon for extra brightness.
Why you’ll love it: Crunchy, creamy, and tangy—great for sandwiches or as a side.
Extra Tips:
If you want a vegan version, use plant-based mayo or simply add extra pickle juice and a drizzle of olive oil. For a bigger crunch, use freshly pickled cucumbers instead of store-bought ones. You can also add chopped celery or bell pepper for more color and texture.
This slaw is delicious on pulled pork sandwiches, hot dogs, or as a topping for grilled fish.
Sweet & Tangy Refrigerator Dill Pickles: A Fresh Spin
If you like a touch of sweetness with your tang, this recipe delivers a balanced, family-friendly taste. It’s a nice change from classic sour pickles.
Total Time: 10 minutes prep, 2 hours chilling
Servings: 8–10 spears
Ingredients:
- 2 medium cucumbers
- ¾ cup white vinegar
- ¾ cup water
- 2 tablespoons sugar
- 1 tablespoon salt
- 4 sprigs fresh dill
- 1 teaspoon mustard seeds
- 1 small shallot, thinly sliced
Steps:
- Cut cucumbers into sticks or rounds. The shape is up to you—rounds are great for snacking, spears for sandwiches.
- Mix vinegar, water, sugar, and salt until dissolved. Taste and adjust sugar or salt to your preference.
- Add dill, mustard seeds, and shallot to a jar. The shallot gives a mild onion flavor and a touch of sweetness.
- Place cucumbers in the jar and cover with brine. Make sure everything is submerged.
- Chill at least 2 hours for best flavor. The longer they sit, the more the flavors meld.
Pro Tip: Swap sugar for honey for a different sweetness.
Why you’ll love it: The perfect blend of sweet and sour—kids love these too!
Extra Ideas:
You can add a pinch of turmeric for golden color and a hint of earthiness. For a sharper bite, add a splash of apple cider vinegar or a slice of fresh ginger. If you like bread-and-butter pickles but want more dill, this recipe hits the spot.

Credit: www.onelovelylife.com
Common Mistakes To Avoid When Making Dill Pickles
Even easy recipes can go wrong if you’re not careful. Here’s what to watch out for:
- Don’t use regular table salt—it can make pickles cloudy and too salty.
- Avoid soft or old cucumbers—they’ll turn mushy instead of crisp.
- Don’t skip the waiting time—flavors need time to develop in the fridge.
- Avoid using metal lids if possible—acid can react with metal and change the taste.
- Don’t fill jars too full—leave a bit of space so brine covers everything.
- Don’t mix hot brine with cold jars—it can cause jars to crack.
Extra Insight:
One mistake many beginners make is not tasting the brine before using it. Always taste your brine—it should be a bit stronger than you want the final pickle to taste, since the cucumbers will dilute it. Also, make sure your jars and utensils are very clean.
Even a bit of oil or soap residue can affect the flavor and safety.
Some people try to shortcut the marinating time, but the pickles really do need a few hours to absorb the flavors. If you’re in a hurry, slice the cucumbers thinner, but don’t rush the chilling step.
Dill Pickle Storage & Serving: Keep Them Fresh
Homemade dill pickles are best enjoyed fresh, but they do last a while in the fridge. Here’s how to keep them tasting their best:
- Fridge life: Most refrigerator pickles last 2–3 weeks in a sealed jar. The flavor may get stronger over time.
- Freezing: Not recommended. Pickles turn soft and lose their crunch.
- Reheating: Not needed—these are eaten cold or at room temp.
- Reuse ideas: Leftover brine can be used in salad dressings, potato salad, or for quick-pickling other veggies like onions or carrots.
| Storage Method | Texture | Flavor Over Time |
|---|---|---|
| Refrigerator (sealed jar) | Crisp | Gets stronger after 2–3 days |
| Room temperature | Softer | May ferment, changes taste |
| Freezer | Mushy | Loses flavor |
Serving Ideas:
Pickles are great by themselves, but try chopping them into tuna or egg salad for a tangy boost. Add slices to burgers, grilled cheese, or wrap them in a slice of ham for a quick appetizer. The brine can be splashed into Bloody Mary cocktails or used to marinate chicken before grilling.
Extra Tip:
If you notice your pickles are starting to lose crunch, try using them in cooked recipes like potato salad or even chop them into tartar sauce. Don’t throw away pickle juice—use it to deglaze pans, add to soups, or even as a secret ingredient in vinaigrette.

Credit: gfchow.com
Quick Tips For Perfect Homemade Dill Pickles
- Use Kirby or Persian cucumbers for the best crunch.
- If you want pickles faster, slice thinner—they absorb flavor quickly.
- No fresh dill? Use 1 teaspoon dried dill weed per jar.
- For salt, always choose kosher or pickling salt—less metallic taste.
- If you like more garlic, add another clove or two.
- Want less tang? Use more water and less vinegar for a milder brine.
| Substitute | Use In Place Of | Flavor Impact |
|---|---|---|
| Dried dill weed | Fresh dill | Milder, but works in a pinch |
| Rice vinegar | White vinegar | Slightly sweeter, less sharp |
| Honey | Sugar | Floral sweetness |
| Mustard seeds | Peppercorns | Earthy, spicy |
Extra Advice:
If you want a punchier pickle, add a few slices of horseradish or a teaspoon of allspice berries. For a more herbal taste, try adding tarragon or thyme. And if you ever get a cloudy brine, don’t worry—this usually happens from using table salt or overripe cucumbers, but the pickles are still safe to eat if they smell and taste fine.
Frequently Asked Questions
How Long Do Homemade Dill Pickles Last In The Fridge?
Homemade dill pickles last 2–3 weeks in the refrigerator if kept in a tightly sealed jar. The flavor gets stronger as they sit. Always check for off smells or mold before eating.
Can I Use Regular Cucumbers Instead Of Pickling Cucumbers?
Yes, you can use regular cucumbers (like English cucumbers), but pickling cucumbers such as Kirby or Persian are firmer and stay crisp longer. Regular cucumbers may get softer faster.
Is It Safe To Use Tap Water For Pickle Brine?
Filtered or bottled water is best, especially if your tap water is heavily chlorinated. Chlorine can affect the taste and crunch. If you must use tap water, let it sit uncovered for a few hours first.
Can I Reuse Pickle Brine To Make Another Batch?
You can use leftover brine to pickle other vegetables like onions or carrots. However, for safety and best flavor, make fresh brine for each new batch of cucumbers.
Are Homemade Dill Pickles Healthier Than Store-bought?
Homemade pickles are usually lower in preservatives and let you control salt and sugar. You can also avoid additives. For more on the health benefits of fermented foods, see this WebMD article.
Can I Make These Recipes With Other Vegetables?
Absolutely! Try green beans, carrots, cauliflower, or even radishes. Slice them thin and follow the same steps. Harder vegetables may need to marinate longer for full flavor.
Why Did My Pickles Turn Dull Or Soft?
This can happen if you use overripe cucumbers, table salt, or let the pickles sit too long in warm temperatures. For best results, use very fresh, firm cucumbers and chill quickly.
Can I Make My Pickles Shelf-stable?
These recipes are for refrigerator pickles, not for canning. If you want shelf-stable pickles, you need to use a tested canning method and sterilized jars. This is more involved but can be fun to learn as your next kitchen project.
Make, Share, And Enjoy Your Own Dill Pickles
Homemade dill pickles are more than just a snack—they’re an easy way to enjoy bold flavors, save money, and impress friends. With these simple recipes, you’ll always have a crunchy, tangy treat on hand for sandwiches, salads, or straight from the jar.
Why not try one today? Pin your favorite recipe, share your results, or ask a question below—what will you pickle next?
—
SEO Title:
3 Easy Dill Pickle Recipes: Quick, Crunchy, and Homemade Every Time
Meta Description:
Craving homemade dill pickles? These 3 easy dill pickle recipes deliver crisp, tangy flavor in minutes—no canning needed. Plus, storage tips, mistakes to avoid, and FAQs.