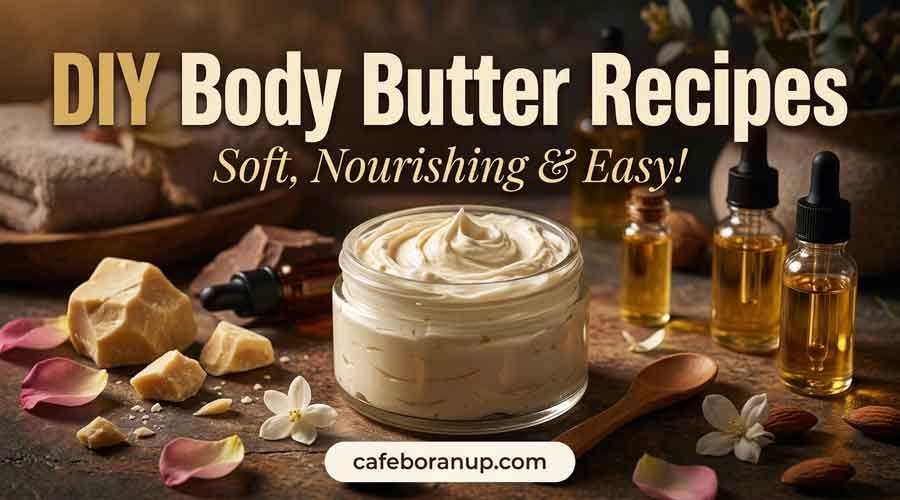
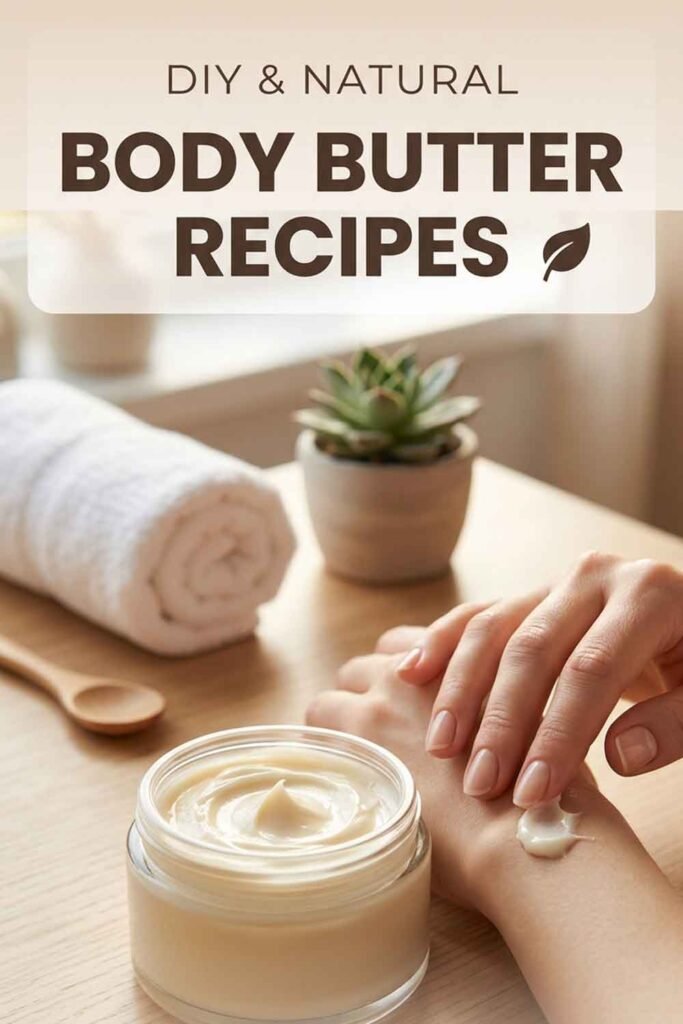
If your skin feels dry, rough, or dull, you’re not alone. Many people want soft and glowing skin, but busy schedules and high prices make it hard. Maybe you’ve tried store lotions with little change, or you worry about chemicals on your skin. The good news? You don’t need expensive products or hours of free time. You can make your own luxurious body butter at home—fast, simple, and with only a few ingredients. These recipes not only nourish your skin but also save you money and give you full control over what you use. Let’s discover three easy body butter recipes that will help your skin feel soft, smooth, and healthy every day.
Why Diy Body Butter Is A Game-changer
Making your own body butter is a small change that brings big rewards. Here’s why it stands out:
- Fast: Most recipes take 15–30 minutes, plus chilling. You don’t need to spend hours in the kitchen. With a few steps, you’ll have a jar of body butter ready by the evening.
- Simple: Only basic kitchen tools needed. A bowl, spoon, and hand mixer are enough. No fancy equipment or confusing steps.
- Budget-friendly: Cheaper than most store creams. When you buy ingredients in bulk, you can make several jars for the price of one store product.
- Customizable: Add your favorite scents or oils. If you love a certain smell or want to avoid allergens, you have total control.
- Gentle: No harsh chemicals or fake fragrances. Many store lotions use alcohols, preservatives, or synthetic scents that can irritate skin. DIY butter is pure and gentle.
- Few ingredients: Usually 3–5 per recipe. Simple lists mean you know exactly what touches your skin.
When you make body butter yourself, you can skip long labels and confusing words. Instead, you get to enjoy rich, creamy care with just the essentials. Many people find that homemade butters work better than store creams, especially for sensitive, dry, or aging skin.
You can also adjust thickness, scent, and even color to match your taste or the season.
Another advantage? DIY body butter is a great way to connect with self-care. The act of making it can be relaxing and fun, and the finished product feels like a special treat. You can even make it with friends, kids, or as homemade gifts.
1. Silky Coconut Shea Body Butter For Everyday Glow
This body butter is rich, creamy, and melts into your skin. It combines nourishing shea butter and coconut oil—two classics for deep hydration. Use it after a shower, before bed, or whenever your skin feels dry. The simple blend locks in moisture and leaves a gentle, natural shine.
Time: 25 minutes (plus chilling)
Ingredients:
- 1/2 cup raw shea butter
- 1/4 cup coconut oil (unrefined)
- 2 tablespoons sweet almond oil
- 10 drops lavender essential oil (optional)
Steps:
- Put shea butter and coconut oil in a heat-safe bowl.
- Tip: Cut the butters into small pieces to melt faster and more evenly.
- Melt over a double boiler (or microwave 30 seconds at a time) until just liquid.
- Note: If using a microwave, stir every 30 seconds so it doesn’t overheat.
- Add sweet almond oil and stir gently.
- Why almond oil? It’s light and adds vitamin E, which helps soothe skin.
- Chill in the fridge for 30–40 minutes until the edges start to harden but not fully solid.
- Look for: A soft, scoopable texture. If it gets too hard, leave at room temperature for a few minutes before whipping.
- Whip with a hand mixer for 3–5 minutes until fluffy and pale.
- What you want: Soft peaks, like whipped cream. This makes it airy and easy to spread.
- Add lavender oil, whip again briefly.
- Optional: You can skip essential oil if you prefer unscented butter.
- Spoon into a clean jar with a lid.
- Storage tip: Glass jars are best. Avoid metal lids, which can rust.
Pro tip: For best results, use at night so your skin absorbs all the oils while you sleep.
Why you’ll love it: Leaves skin soft, smooth, and never greasy. The shea butter repairs dry patches, while coconut oil adds a silky finish. If you want a lighter texture, add an extra tablespoon of almond oil before whipping.
Extra insight: Some people notice this recipe works wonders on cuticles, elbows, and heels. It can even double as a gentle makeup remover for dry skin.
2. Cocoa Dream Body Butter For Deep Moisture
If your skin is extra dry or you crave a chocolatey scent, this rich cocoa butter blend is for you. Cocoa butter is packed with fatty acids that repair and protect skin. This recipe creates a thick, luxurious cream that’s perfect for elbows, knees, and winter skin.
Time: 30 minutes (plus chilling)
Ingredients:
- 1/2 cup cocoa butter (solid)
- 1/4 cup jojoba oil (or olive oil)
- 2 tablespoons shea butter
- 1 tablespoon vitamin E oil
- 8 drops vanilla extract (optional)
Steps:
- Combine cocoa butter and shea butter in a bowl.
- Tip: Chop the cocoa butter small, as it’s very firm and takes longer to melt.
- Heat gently until melted (double boiler or microwave in 20-second bursts).
- Caution: Don’t let it boil. High heat can destroy nutrients and change the scent.
- Mix in jojoba oil and vitamin E oil.
- Jojoba oil: Closest to skin’s natural oils, soaks in well.
- Vitamin E: Helps heal and protect, also extends shelf life.
- Let cool in the fridge until edges set but center is soft.
- Texture check: You want it to look like soft butter, not hard or liquid.
- Whip with mixer until fluffy and light.
- Why whip? Incorporates air, makes it spread easily and feel luxurious.
- Add vanilla, mix again.
- Vanilla extract: Adds a sweet scent. Use pure extract for best results.
- Transfer to a clean jar.
Pro tip: If you prefer a lighter feel, add 1–2 tablespoons more jojoba oil before whipping.
Why you’ll love it: Deeply moisturizes and gives a natural, chocolatey scent. Perfect for cracked heels or hands. It’s also a favorite for reducing the look of stretch marks and scars over time.
Extra insight: Cocoa butter can be a bit thick—if you want a “whipped mousse” texture, try adding 1 tablespoon of arrowroot powder before whipping. This lightens the feel and reduces any greasy finish.
3. Whipped Mango Body Butter For Bright, Smooth Skin
Mango butter is light but very nourishing. This recipe absorbs quickly and is great for both face and body. The fresh scent and smooth texture make it a treat for dull, tired skin. It’s especially nice in hot weather when you want moisture without heaviness.
Time: 20 minutes (plus chilling)
Ingredients:
- 1/2 cup mango butter
- 1/4 cup grapeseed oil (or sunflower oil)
- 1 tablespoon arrowroot powder (for a non-greasy finish)
- 12 drops sweet orange essential oil (optional)
Steps:
- Gently melt mango butter in a bowl over hot water.
- Tip: Mango butter melts quickly, so watch closely to avoid overheating.
- Stir in grapeseed oil and mix well.
- Grapeseed oil: High in vitamin C, light texture, great for brightening skin.
- Let cool in the fridge until edges are firm but not solid.
- Texture check: Should be soft enough to press a finger in, not hard.
- Whip with a mixer until creamy and light.
- Whipping: Adds air, making it glide easily over skin.
- Add arrowroot powder and essential oil, whip again.
- Arrowroot: Absorbs excess oil, gives a powdery-soft feel.
- Essential oil: Sweet orange is uplifting and adds a sunny scent.
- Spoon into a clean container with a tight lid.
Pro tip: Arrowroot powder makes the butter absorb faster and leaves no oily residue.
Why you’ll love it: Absorbs fast, smells fresh, and leaves skin glowing. Many people use this blend as a daily face cream or after-sun moisturizer.
Extra insight: Mango butter works well for sensitive or acne-prone skin. It’s non-comedogenic (won’t clog pores) and even helps reduce redness and calm irritation.

4. Avoid These Common Body Butter Mistakes
Even simple recipes can go wrong if you’re not careful. Watch out for these:
- Don’t overheat oils—they lose nutrients at high heat.
- Overheated butters can also feel gritty or waxy when cooled.
- Avoid using dirty or wet jars—bacteria can grow and spoil your butter.
- Always sterilize jars with boiling water and let them dry fully before use.
- Don’t skip chilling before whipping—texture will be wrong if too warm or too hard.
- If too liquid, it won’t whip up; if too hard, the mixer will struggle.
- Avoid adding too much essential oil—can irritate skin.
- Stick to a few drops per jar. Less is more, especially for sensitive areas.
- Don’t use water-based ingredients—can cause mold and spoilage.
- If you want a water-based lotion, use a different recipe with a preservative.
- Don’t touch butter with wet hands—water introduces bacteria.
- Always use a dry, clean spoon or spatula.
Extra tips: If your butter feels grainy, it’s usually from cooling too slowly. Next time, chill it faster. If it feels too oily, add a small amount of arrowroot or cornstarch and re-whip.
5. How To Store And Reuse Your Body Butter
Homemade body butter lasts longer than you might think if you store it right. Here’s what you need to know:
- Fridge storage: Keeps fresh up to 6 months. Always use a clean, dry spoon to scoop.
- This is especially important in hot or humid climates.
- Room temperature: 1–2 months in a cool, dark spot away from sunlight.
- High heat can melt and separate oils, but it’s still usable—just stir.
- Reheating: If the butter becomes too hard, let it sit at room temperature, or whip again to restore fluffiness.
- Do not microwave in the jar—scoop out what you need first.
- Reusing: If the scent fades, add a few drops of essential oil and whip again.
- You can even blend two butters together for a custom scent or texture.
- Small containers: Divide into smaller jars so you only open what you need.
- This keeps the rest fresh and makes great gifts.
Extra insight: If you travel, keep a small jar in your bag for dry hands, lips, or elbows. Homemade butter can also double as a hair mask or beard conditioner.
6. Quick Tips For Perfect Body Butter Every Time
- Use unrefined butters for the most skin nutrients.
- Refined butters are often bleached or deodorized, removing beneficial vitamins.
- Substitute oils: Olive, almond, grapeseed, or sunflower all work well.
- Each oil brings different benefits and feels. Try small batches to find your favorite.
- Short on time? Skip whipping—the texture will be thicker but still effective.
- Warm a small amount between your hands before applying.
- Melt over low heat to protect vitamins and fatty acids.
- High heat can create off-smells and ruin texture.
- For scent, try lemon, peppermint, or tea tree oil—just a few drops.
- These oils are strong, so start with less and add more if needed.
- Sensitive skin? Patch test first on your wrist.
- Wait 24 hours to be sure there’s no reaction.
Extra insight: If you make a large batch, label each jar with the recipe date and scent. This helps you track freshness and avoid mix-ups.
7. Comparing Butters And Oils: Which Is Best For You?
To help you choose the best combination, here’s a quick look at the main butters and oils used in these recipes.
| Ingredient | Texture | Best For | Scent |
|---|---|---|---|
| Shea Butter | Rich, creamy | Dry, sensitive skin | Nutty, mild |
| Cocoa Butter | Very firm | Very dry skin, stretch marks | Chocolatey |
| Mango Butter | Light, soft | All skin types | Faint, fruity |
Extra tips: For summer, mango or shea butter feels lighter and absorbs faster. In winter, cocoa butter adds a protective layer against wind and cold.
When choosing oils, think about your skin type:
- Jojoba oil: Balances oily or combination skin.
- Sweet almond oil: Soothes irritation and is gentle for babies.
- Grapeseed oil: Lightweight, good for acne-prone or oily skin.
- Olive oil: Heavier, best for very dry or mature skin.
Try mixing and matching in small batches to see what your skin likes best. Everyone’s skin is unique!

8. Essential Oils: Safety And Benefits
Essential oils add scent and benefits, but always use them carefully. Here are some popular choices and their properties:
| Oil | Benefit | Skin Type |
|---|---|---|
| Lavender | Calms, soothes redness | All types |
| Sweet Orange | Brightens, uplifts mood | Normal to dry |
| Tea Tree | Fights breakouts, antibacterial | Oily, acne-prone |
| Peppermint | Cools, refreshes | Tired, overheated skin |
| Rose | Hydrates, soothes sensitive skin | Dry, mature |
Safety tips:
- Always dilute essential oils—never use them straight on skin.
- Some oils, like citrus, can make skin more sensitive to sun. Avoid sun exposure after use.
- For children or pregnancy, use only gentle oils (like lavender) and in small amounts.
Not sure about an oil? Check safety guidelines on the Environmental Working Group.
Extra insight: Essential oils can fade over time. If the scent weakens, just add a drop or two to your butter and mix.
9. Frequently Asked Questions
How Often Should I Use Homemade Body Butter?
Most people use it once or twice daily—after a shower and before bed. If your skin is oily, try every other day to start. After a few uses, adjust based on how your skin feels.
Can I Use Body Butter On My Face?
Yes, but use a small amount and patch test first. Some oils can clog pores, so choose lighter recipes like mango butter blends. Avoid heavy butters for acne-prone skin. If you notice breakouts, switch to a lighter oil or skip essential oils.
What If My Body Butter Melts Or Separates?
This can happen in hot weather. Just stir and keep in the fridge. Separation doesn’t mean it’s spoiled—just remix and use. You can re-whip the butter to restore texture.
Is Homemade Body Butter Safe For Kids Or During Pregnancy?
Generally yes, but skip strong essential oils (like peppermint or cinnamon) for babies or pregnant women. Always check with your doctor for sensitive skin or allergies. For kids, use very small amounts of essential oil or none at all.
Can I Sell My Homemade Body Butter?
You can, but research local laws. You may need labels, safety tests, and business permits for selling skincare products. Always list all ingredients clearly, especially if you sell or give as gifts. Store your butters in clean, sealed jars and avoid making medical claims.
Why Is My Body Butter Grainy?
Sometimes butters like shea or cocoa can get a grainy texture if cooled too slowly. Next time, melt the butter fully, chill quickly in the fridge, then whip. Grainy texture doesn’t harm skin, but whipping usually fixes it.
Can I Add Color To My Body Butter?
Yes, but use only skin-safe, natural colorants like mica powder or beetroot powder. Avoid food coloring, which can stain skin or clothes.
—
Making your own body butter is easier than you think—and the results are worth it. Imagine opening your fridge or bathroom shelf to a jar of fluffy, natural cream that you made yourself. Your skin will thank you with softness and a healthy glow. Why not pin your favorite recipe on Pinterest, or share with a friend who needs some self-care? Which recipe will you try first—coconut shea, cocoa dream, or whipped mango? With a few ingredients and a little time, you can enjoy healthy, glowing skin every day—right at home.